TL;DR
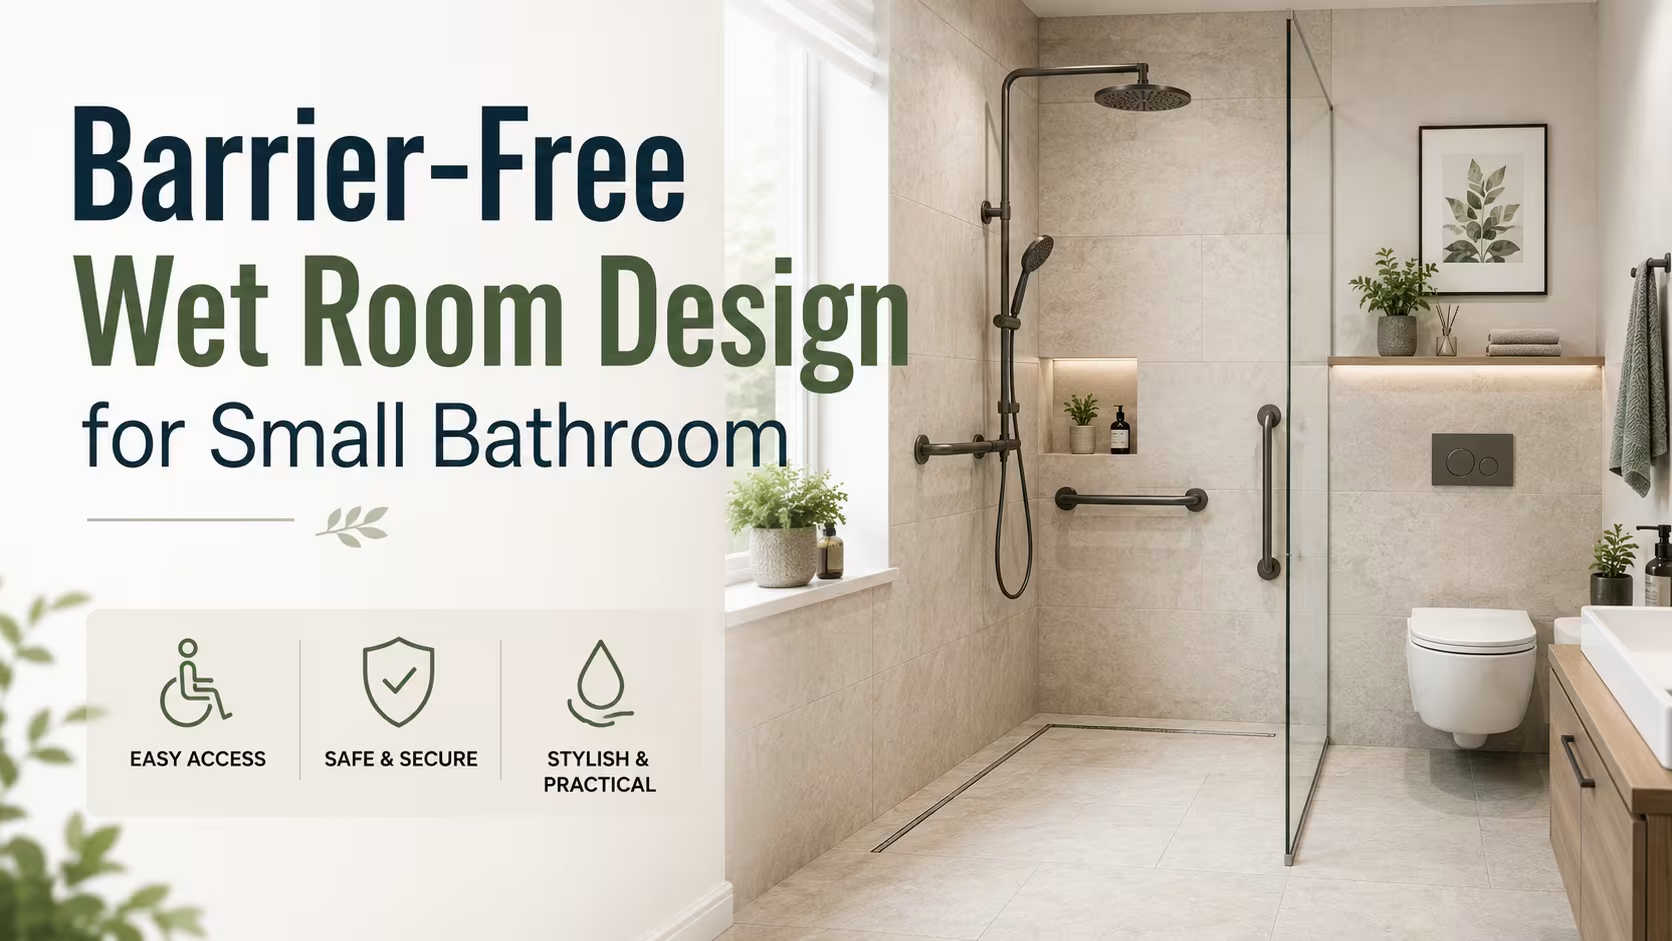
A barrier-free wet room removes the physical threshold between shower and floor, turning the entire bathroom into a single waterproofed space. Done right in a small bathroom, it feels larger, functions better, and works for people of all mobility levels. The difference between a wet room that works and one that floods your hallway is almost entirely in the prep and the fall.
Introduction
What happens when you pull out the shower tray, lose the glass screen, and let water go wherever it wants? Most people picture chaos. But bathrooms designed this way, where the shower zone and the standing floor share one continuous plane, have become one of the most quietly practical layouts in residential design.
The appeal is not just aesthetic. For older adults, wheelchair users, and anyone who has ever stepped over a tub lip with slippery feet, the zero-threshold floor is a genuine safety gain. The challenge is making it work without sacrificing every square inch of usable floor space, particularly when the room is small.
What a Wet Room Actually Is, and Why It Works Differently in a Compact Space
A wet room is a fully waterproofed bathroom where the shower has no enclosure, no tray, and no raised lip separating it from the rest of the floor. Water falls, drains, and the whole surface is treated as a single wet zone. That definition sounds simple, but the construction is more demanding than a standard shower installation because the waterproofing must extend across the entire floor and up the walls to a consistent height, usually around 1.8 to 2 meters.
In a large bathroom, this is straightforward. The shower sits at one end, the drain pulls water efficiently, and the rest of the floor stays reasonably dry through distance alone. In a small bathroom, typically under four square meters, every element competes for the same space. The shower is not “at one end.” It is adjacent to the toilet, the vanity, and the door, sometimes simultaneously. This changes how you approach the drainage, the floor gradient, the fixture placement, and even which walls can bear waterproofing loads.
The spatial advantage, which is real, is that removing bulky shower enclosures and trays visually opens the room. A 2.2-square-meter bathroom with a freestanding tray and glass screen feels like a corridor. The same room stripped to a continuous tiled floor with a single wall-mounted rain head feels at least 30 percent more generous, even though nothing structural has changed. That visual effect is not an illusion worth chasing for aesthetics alone, but when it coincides with accessibility and safety, the argument becomes compelling.
How the Floor Gradient Changes Everything
The most common mistake in small wet rooms is underestimating the fall. The floor must slope toward the drain at a gradient of between 1:60 and 1:80, meaning roughly 12 to 17 millimetres of drop per metre of run. In a large wet room, that gradient is barely perceptible. In a 1.8-metre-wide bathroom, it means the floor at the far wall is nearly three centimetres lower than at the drain, which can make the toilet feel slightly off-level and the vanity unit unstable unless the cabinetry is installed to compensate.
Getting the fall wrong creates pooling water near the door or at the base of the toilet, and pooling water in a wet room is a hygiene problem that compounds quickly. Experienced tilers address this by creating a compound fall, where the gradient runs not just toward one drain but toward a linear channel drain positioned along one wall, usually beneath the showerhead wall. This approach distributes the slope more evenly across a small floor and allows furniture, fixtures, and the toilet base to sit with minimal differential.
Drain Selection in Small Wet Rooms
Linear channel drains are the standard choice for compact wet rooms because they reduce the number of directional gradients required. A central point drain needs the floor to fall toward it from four directions, which creates a pyramid-like surface that becomes difficult to tile cleanly with large format tiles. A linear drain, positioned at one end or along one edge, requires only a single-plane slope, which is far easier to execute in a narrow room and visually cleaner with 600mm or 900mm tiles.
The drain capacity matters more in a small space than people expect. A high-flow showerhead in a room where the shower zone and the rest of the floor share limited drainage infrastructure can overwhelm a poorly spec’d linear drain, particularly during longer showers. Drainage rates of 25 to 30 litres per minute are a reasonable minimum for a residential wet room showerhead paired with a 900mm linear channel. Specifying below that creates backflow risk, especially if the floor gradient is less than perfect.
Waterproofing and Substrate: The Work No One Sees
Wet room failures are almost never a tile problem. They are a substrate problem. The tile is often fine. The waterproofing membrane behind or beneath it has failed, or was applied inconsistently, or was not taken high enough up the wall. Water then migrates behind the finish layer, saturates the substrate, and eventually reaches the timber joists or concrete slab beneath, depending on the construction type.
In small bathrooms, where walls are shared with bedrooms, hallways, and living spaces, a waterproofing failure is not just a cosmetic issue. It is a structural one. The tanking system, whether liquid-applied membrane, sheet membrane, or tile backer board with taped joints, must be treated as a continuous shell with no interruptions. Every pipe penetration, every screw hole, every corner junction is a potential failure point and must be addressed before a single tile goes down.
For timber-framed construction, which is common in older UK housing stock and throughout much of North America and Australia, the substrate beneath the tiles must be rigid and non-compressible. Standard plasterboard, even moisture-resistant variants, is not a suitable substrate for a wet room floor. Cement backer board or rigid polyurethane foam backer boards, such as Wedi or Schluter Kerdi-Board, are the materials that actually perform over time. The additional cost is roughly 15 to 20 percent over a standard tiled bathroom build, but the failure rate drops dramatically.
Wall-Mounted Fixtures and Why They Matter in Small Spaces
A small wet room benefits disproportionately from wall-mounted everything: toilet, vanity, towel rails, and soap niches. Wall-hung toilets and floating vanity units clear the floor plane, which serves two purposes in a barrier-free context. First, it makes cleaning the continuous wet room floor faster and more thorough, with no pedestal base or cabinet legs to work around. Second, for wheelchair users, the cleared floor space beneath the vanity allows a forward approach, which is a meaningful accessibility gain in a tight room.
The installation requirements are non-trivial. Wall-hung toilets require a concealed cistern frame, typically a steel or aluminium carrier frame set within the wall cavity or a false wall built to house it. In a small wet room, that false wall can eat 12 to 15 centimetres of depth, which in a 1.5-metre-wide room is significant. The solution is either to specify a slim-profile carrier frame where available, or to design the false wall as a feature, using it to house the showerhead plumbing, a recessed niche, or additional storage behind mirrored panels.
Tile Selection and Non-Slip Performance in a Barrier-Free Layout
The tile you choose for a wet room floor is not primarily a design decision. It is a safety specification. The relevant standard in most markets is the DIN 51097 classification, which rates tiles for barefoot use in wet areas across three groups: A, B, and C. Group A is the minimum for a wet room floor. Group B or C is preferable, particularly near the shower zone and at entry points. Anti-slip ratings on tile product sheets are occasionally optimistic, and specifying tiles with a third-party tested R rating (the German R9 to R13 scale) alongside DIN classification gives a more reliable picture.
Large format tiles, specifically 600x600mm or 600x1200mm, are popular in wet rooms because they reduce the number of grout lines, which simplifies cleaning and gives a cleaner visual. The trade-off is that large tiles are harder to cut to accommodate the floor gradient and require a very flat, very rigid substrate to prevent flexion cracking. In a small wet room, this tension is manageable but requires careful planning: the substrate must be levelled to within two millimetres across any two-metre span before tiling begins.
Colour, Light, and the Illusion of Space
Dark tiles in a small wet room create atmosphere but absorb light, which can make the space feel oppressive if there is no natural light source. Mid-tone stone-effect porcelain in large formats, paired with a lighter grout, tends to perform well spatially. The grout colour is often neglected in wet room specifications, but a grout that closely matches the tile creates a surface that reads as continuous rather than gridded, which amplifies the sense of space.
Lighting in a wet room must be IP65-rated at minimum for zones directly above the shower, and the placement of downlights matters. A single central downlight in a small wet room creates a shadow at the periphery. Three smaller downlights, positioned over the shower zone, the vanity, and the toilet, give more even coverage and better visibility at floor level, which is particularly relevant in a barrier-free space where the floor surface is a safety element.
A Real-World Scenario: Converting a 3.2-Square-Metre Bathroom
Maria, a building designer working in Melbourne’s inner suburbs, was asked to convert a 3.2-square-metre bathroom in a Victorian terrace into a fully accessible wet room for an older client with early-stage Parkinson’s disease. The existing bathroom had a corner shower tray, pedestal basin, and a standard close-coupled toilet, leaving almost no turning radius for a walker.
The solution she delivered removed the shower tray entirely, installed a linear channel drain along the back wall beneath the fixed rain head, specified 600x300mm matte porcelain in Group B, and replaced the pedestal basin with a wall-hung unit at 780mm height with knee clearance below. The toilet was moved six centimetres toward the entrance wall and fitted to a carrier frame, with a fold-down grab bar on the open side.
The floor space gain was modest in absolute terms, roughly 0.4 square metres, but the removal of barriers and the lowering of the visual horizon transformed how the room functioned and felt. The client’s occupational therapist signed off on the layout within two weeks of completion.
Wrap Up
A barrier-free wet room in a small bathroom is a serious construction project that rewards precision at every stage, from the substrate choice to the drain specification to the fixture mounting. The spatial and functional gains are real, but they depend entirely on getting the hidden work right. When the waterproofing is solid, the fall is correct, and the fixtures are mounted to clear the floor, even a 3-square-metre bathroom can support a layout that works for decades and for a wide range of users. The floor is not just a floor in a wet room. It is the foundation of everything the design is trying to do.
FAQs
Can any small bathroom be converted into a barrier-free wet room?
Most small bathrooms can be converted, but the existing floor structure must support the weight of a waterproof substrate and tile system, and the walls must be suitable for tanking. Timber-framed constructions require a rigid backer board system rather than standard plasterboard, and the drain must connect to existing waste pipework within a workable fall.
What is the minimum size for a functional barrier-free wet room?
A wet room can function in a space as small as 1.2 metres by 1.8 metres, though 1.5 by 2 metres is more practical for a wheelchair user needing lateral transfer space beside the toilet. Below 1.2 metres in any dimension, the linear drain and floor gradient become difficult to execute without creating a noticeably uneven floor.
How do you keep the rest of the bathroom dry in an open wet room layout?
The floor gradient, drain capacity, and showerhead placement work together to contain water. A fixed overhead rain head positioned directly over the drain zone, combined with a correctly graded floor and a high-flow linear drain, keeps water from migrating toward the door during normal use. A small folding glass panel or half-height screen can be added at the shower zone boundary without reintroducing a threshold.
Disclaimer
This content shared by Fall Rugs is solely for research and informational purposes. Fall Rugs is not a professional interior design or home renovation consultancy, and the information provided should not be considered professional advice for home improvement or decor. All ideas and suggestions are based on current trends and general knowledge in the home decor industry.