
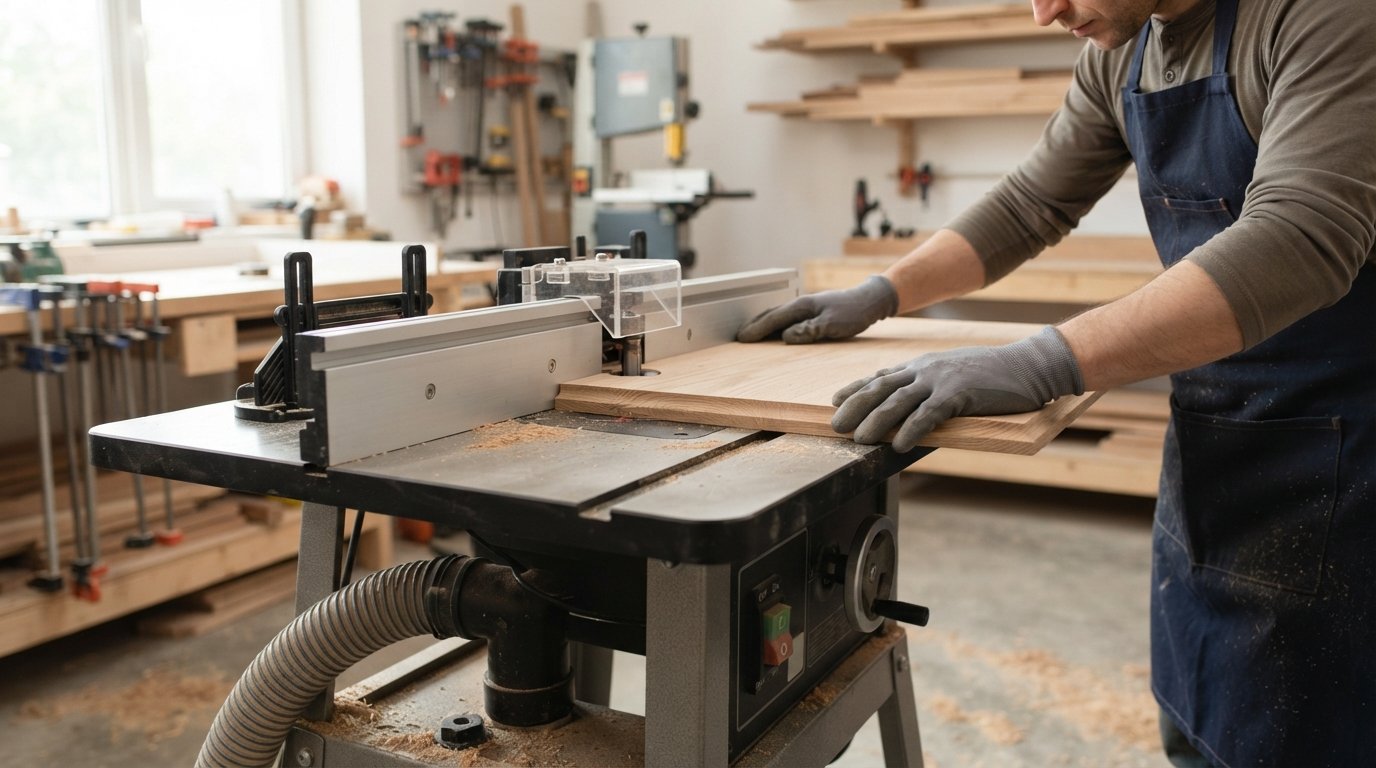
Using a router table safely and accurately comes down to three essentials: bit installation, fence alignment, and feeding the wood in the correct direction.
The Cardinal Rule: Always feed wood from right to left across the front of the bit. Feeding left-to-right (known as a “climb cut”) allows the bit’s rotation to catch the wood and fling it out of your hands.
1.Set Up Safety and Power Off:Before touching the table.
- Keep the router unplugged while changing bits or adjusting heights.
- Put on safety glasses and hearing protection (routers easily exceed 90 dB).
- Clear all wood scraps, dust, and wrenches off the table surface.
2.Install and Set the Router Bit:3/4 shank depth minimum.
- Insert the bit shank into the collet at least 3/4 of the way in. Leave a 1/16 inch gap at the bottom of the socket so the shank doesn’t bind as it heats up.
- Tighten the collet nut firmly using your collet wrenches.
- Adjust the router’s height mechanism to raise the bit to your desired profile height above the table surface.
3.Align the Fence and Safety Guards:Set cut depth.
- Loosen the fence locking knobs and position the fence relative to the router bit’s cutting edge or pilot bearing.
- Lock the fence securely on both ends.
- Position featherboards to keep stock flat against the table and tight against the fence. Mount featherboards slightly before the bit, never directly pushing into the open bit socket.
4.Make a Test Cut on Scrap Wood:Verify depth and finish.
- Plug in the router and switch on dust collection.
- Stand slightly to the side of the cut line, turn on the motor, and let it reach full speed before feeding material.
- Push a scrap piece of the same wood species from right to left, using push blocks or a push stick to keep your hands at least 6 inches clear of the bit.
- Turn off the router, let it stop completely, and inspect the test cut’s profile and depth.
5.Make Final Passes in Increments:Prevent burning and tear-out.
- For deep grooves or large profiles, never remove all material in one pass.
- Set the fence forward to take off roughly 1/8 inch per pass, shifting the fence back for subsequent passes until reaching full depth.
- Maintain firm, consistent pressure against the fence as you feed right to left at a steady, moderate pace.
Safety & Technique Essentials
| Key Concept | Best Practice | What Happens If Ignored |
| Feed Direction | Right to Left | Left to right causes “climb cutting,” throwing the workpiece |
| Pass Depth | Max 1/8 inch depth per pass | Deep passes cause wood burning, bit chatter, or kickback |
| Hand Position | Use push blocks; keep hands 6+ inches away | Serious hand injury if workpiece slips or catches |
| Routing Order | Route end-grain edges before long-grain edges | Prevents corner tear-out (the long-grain pass cleans up blowout) |