

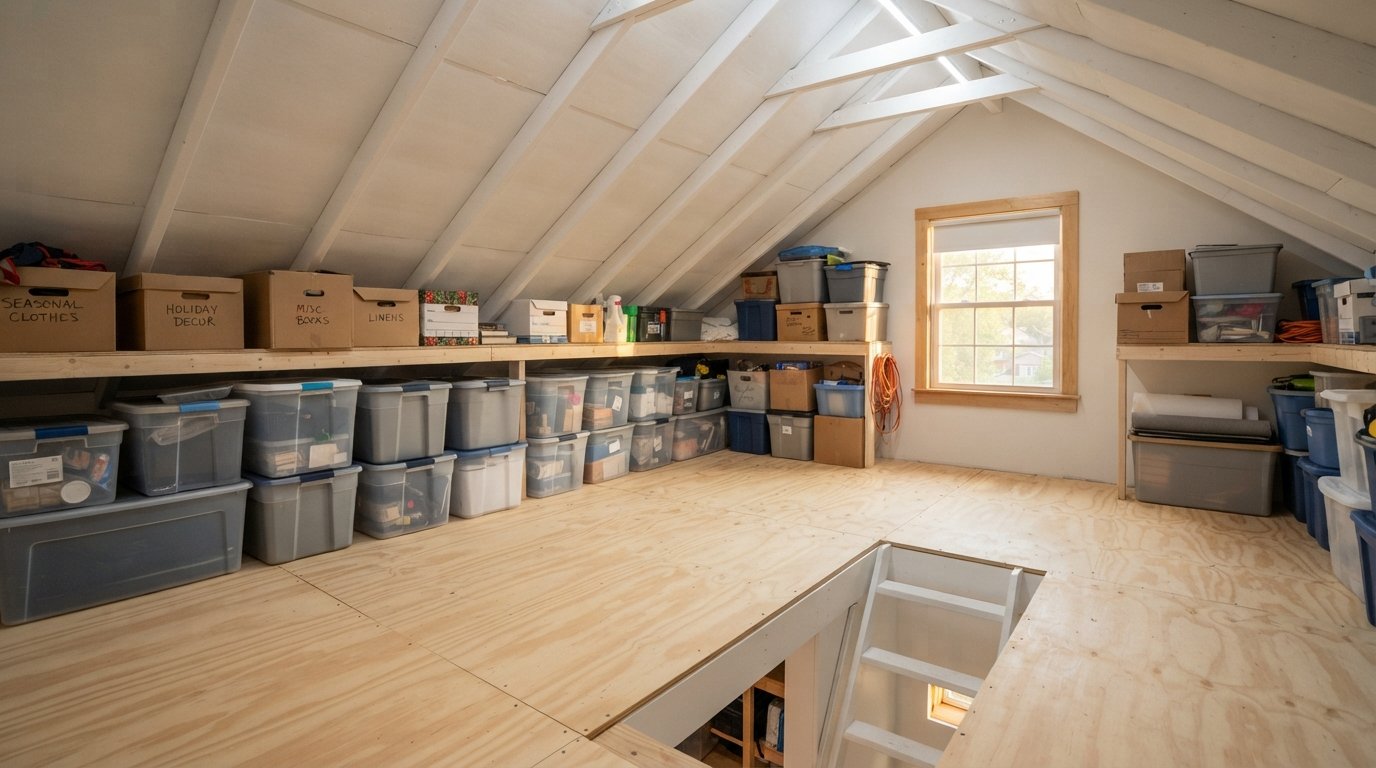
TL;DR
Finishing an attic for storage requires evaluating joist strength, installing proper subflooring, and maintaining roof ventilation. Homes built with traditional framing handle light storage easily, while modern truss systems require distinct modifications. Planning floor loads, access, and temperature control protects your belongings and prevents costly structural damage.
Introduction
Have you ever looked up at your hatch ceiling and wondered how much wasted space sits right above your head? Unfinished attics offer massive square footage, but throwing heavy boxes onto exposed ceiling joists creates severe risks for your drywall below. Turning this area into an organized storage room requires a clear plan for weight distribution, access, and climate management. This guide breaks down the exact construction steps, materials, and structural rules needed to build safe overhead storage that lasts.
Assessing Structural Capacity and Load Limits
Before buying lumber or moving single plastic bins upstairs, you must determine what your attic floor can actually support. Ceilings are designed to hold up drywall, not heavy seasonal gear, furniture, or filing cabinets.
- Dead load vs. live load: Ceiling joists in houses built before 1970 usually handle a live load of 10 to 20 pounds per square foot. Standard living spaces require 30 to 40 pounds per square foot.
- Dimensional lumber vs. engineered trusses: Traditional 2×6 or 2×8 floor joists can easily support subflooring. W-shaped factory trusses made from 2x4s are engineered under tension; cutting or drilling into them weakens the entire roof assembly.
- Deflection issues: Overloading weak joists causes ceiling drywall downstairs to crack along seam lines or bow downward over time.
A homeowner in Denver attempted to floor a 300-square-foot attic using 3/4-inch plywood directly over 2×4 ceiling ties in a 1980s suburban home. Within six months, the weight of winter tires and holiday decorations caused the ceiling of the master bedroom below to sag by nearly half an inch. The repair required removing all stored items, installing 2×8 sister joists across a 12-foot span, and replacing cracked drywall sheets, costing over $3,200 in structural fixes.
Measuring Joist Spacing and Depth
Measure the distance between the centers of your floor framing members. Standard construction relies on either 16-inch or 24-inch center-to-center spacing. If you have 2×4 members, you must extend the depth using 2×6 or 2×8 lumber run perpendicular or sistered directly alongside the existing wood. Fasten framing members using 3-inch structural wood screws rather than standard drywalls screws, which lack shear strength.
Installing Proper Subflooring and Walkways
Placing the right subfloor material ensures a level surface while keeping overall structural weight manageable. Never use thick hardwood or heavy particle board in an attic installation.
- Plywood vs. OSB: Exterior-grade 5/8-inch tongue-and-groove plywood provides maximum rigidity and moisture resistance. OSB works well for budget projects but degrades if roof leaks occur.
- Fastener selection: Ring-shank nails or 2-inch construction screws prevent floor squeaks as wood expands and contracts through seasonal temperature swings.
- Air gap clearance: Leave a 1/8-inch expansion gap between sheet edges to prevent buckling during humid summer months.
Floor Panel Materials Compared
| Material | Standard Thickness | Weight per 4×8 Sheet | Moisture Resistance | Best Use Case |
| CDX Plywood | 5/8 inch | ~42 lbs | High | Heavy gear, general storage |
| Standard OSB | 19/32 inch | ~46 lbs | Moderate | Light boxes, budget builds |
| Pre-Cut Attic Panels | 3/4 inch | ~12 lbs per panel | Moderate | Small modular walkways |
Modular plastic or wooden attic decking panels from brands like StoreFloor offer a lightweight alternative for homes with deep blown-in insulation. These elevated grid systems sit on steel stilts, raising the walkway above 12 inches of cellulose insulation without compressing the material, which destroys its thermal resistance rating.
Managing Ventilation and Thermal Insulation
Enclosing an attic space without accounting for airflow leads to excessive summer heat, mold growth, and roof deck rot in winter. Storage areas must balance thermal protection with continuous air movement.
- Rafter baffles: Install plastic rafter vents (soffit baffles) along the entire perimeter eaves before adding insulation to maintain an unobstructed path for fresh air.
- Rigid foam board vs. fiberglass: Foil-faced polyisocyanurate insulation boards reflect radiant heat away from stored items while providing high thermal protection per inch.
- Vapor retarders: Place vapor barriers on the warm-in-winter side of the ceiling framing to stop humid indoor air from condensing inside the cold attic cavity.
Contractors working on a Victorian-era restoration in Chicago installed rigid insulation panels directly against the underside of the roof deck without leaving an air channel. During the first winter, warm moisture from the living quarters passed through the ceiling, hit the cold wood decking, and generated widespread surface mold behind the insulation boards within four months. Remediating the timber required stripping the insulation, applying antimicrobial spray, and retrofitting continuous ridge and soffit vents.
Choosing Safe Access and Lighting
Reaching your new storage space comfortably requires a sturdy ladder or staircase and bright, low-energy lighting fixtures.
- Attic ladders: Aluminum fold-down attic ladders from brands like Louisville Ladder or Fakro hold up to 375 pounds, offering superior stability over cheap wooden fold-out models.
- Rough opening dimensions: Standard hatch openings measure 22.5 inches by 54 inches, which fits between standard ceiling joists without cutting structural wood.
- Lighting choices: Hardwired LED strip lighting or surface-mounted LED puck lights eliminate heat hazards around cardboard boxes and fabric storage bins.
Select a fold-down access unit with built-in weatherstripping and an insulated hatch door to prevent conditioned room air from leaking into the roof cavity. Place a master light switch at the base of the access point with an indicator light so you never leave attic lights running unattended for days.
Wrap Up
Finishing an attic for storage is one of the most cost-effective ways to expand your home’s usable footprint without building an expensive outdoor addition. Take time to inspect your ceiling joists, select lightweight subfloor materials, and protect your roof’s ventilation pathways before loading heavy boxes overhead. Prioritizing structural safety and climate management early in the project ensures your personal items stay clean, dry, and safe year-round.
FAQs Section
Can you put flooring in an attic with trusses?
Yes, but you must avoid cutting, altering, or heavy loading on W-shaped truss webs. Use elevated floor framing systems or lightweight attic panels raised above insulation layers to store light items safely without voiding the structural engineering of the roof.
How much weight can an unfinished attic floor hold?
Standard ceiling joists built with 2×6 lumber generally support 10 to 20 pounds per square foot of light storage. If you plan to store heavy furniture or file cabinets, you must reinforce the area by sistering larger joists to handle up to 30 or 40 pounds per square foot.
What is the cheapest way to floor an attic for storage?
Installing 5/8-inch CDX plywood sheets directly over existing floor framing is the most economical method. Secure the sheets with 2-inch construction screws along the joist lines to create a smooth, secure walking surface for basic storage boxes.