

TL;DR
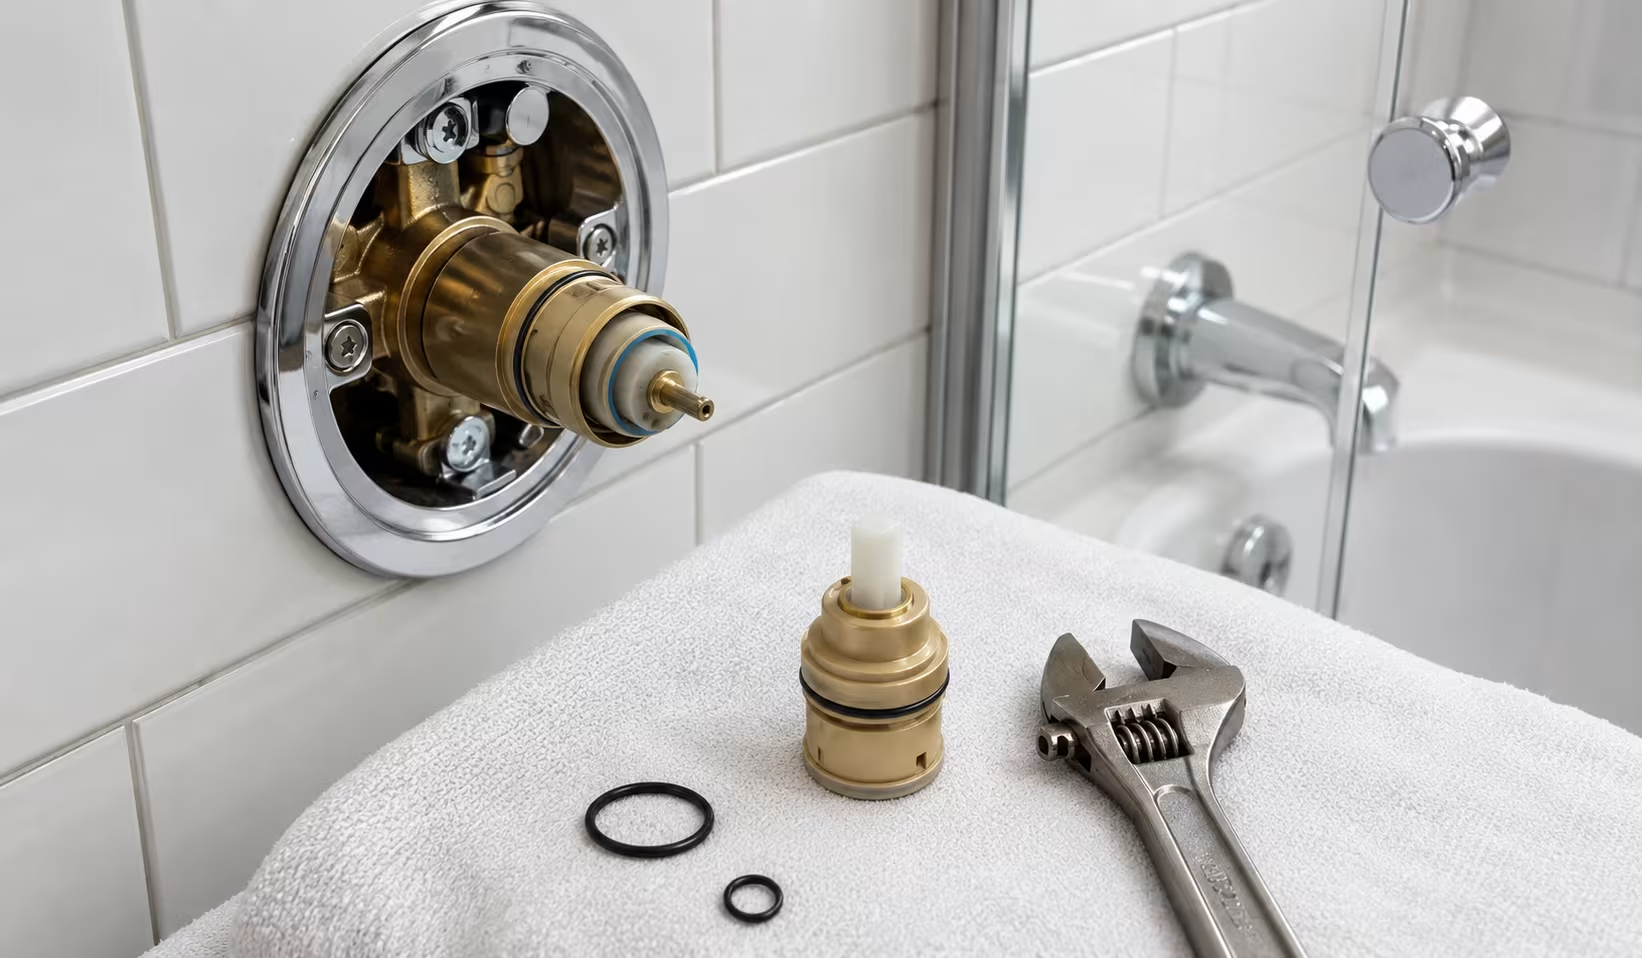
A dripping shower or a handle that won’t turn smoothly almost always points to a worn cartridge, not a failing valve body. Shutting off water, pulling the trim, removing the retaining clip, and swapping in a matching part from Moen, Delta, or Kohler solves most of these problems for under 25 dollars. The job takes most homeowners 30 to 60 minutes once the right cartridge is in hand.
Introduction
Ever notice your shower dripping for weeks after you swore you shut it off tight? That’s rarely a sign of a dying faucet. It’s usually one small cylindrical part called a cartridge, and it fails on a predictable schedule after years of mineral buildup and rubber seal wear. Homeowners in Phoenix and Tucson tend to see this happen faster because of hard water, while folks in Seattle might get a decade out of the same part. This piece walks through diagnosing the problem, buying the correct replacement, and doing the swap without flooding the bathroom or stripping a screw.
Recognizing the Signs You Need a Cartridge, Not a New Faucet
A cartridge failure shows up in a few specific ways, and spotting the pattern early saves a trip to the hardware store for the wrong part.
- Constant dripping from the showerhead even when the handle is fully closed
- A handle that spins loosely or feels gritty when turned
- Water temperature that swings from scalding to cold with no adjustment
- Reduced water pressure that wasn’t there a year ago
- Squealing or chattering noise when the water first turns on
Delta and Moen both build cartridges that typically last 8 to 15 years under average municipal water conditions, though homes on well water with high mineral content often see failure closer to the 5 year mark. A plumber in Austin once told a client the noise she heard was “the sound of rubber giving up,” and that description sticks because it’s accurate. The O-rings inside harden and crack long before the plastic housing does.
Confirming It’s the Cartridge and Not the Valve Body
Before buying anything, pull the handle off and look at the cartridge stem. If it moves freely by hand but water still leaks, the seals are shot. If the stem itself is cracked or the retaining clip won’t seat, the valve body may need attention too, though this is far less common. Most single-handle showers built after 1995 use a replaceable cartridge system specifically so the valve body never has to be touched.
Gathering the Right Tools and Matching Cartridge
Buying the wrong cartridge is the single biggest reason this repair takes two trips instead of one.
- Adjustable wrench and a set of Phillips and flathead screwdrivers
- Needle-nose pliers for the retaining clip
- Cartridge puller tool (rent one free at most Home Depot or Ace Hardware locations)
- Silicone plumber’s grease for the new O-rings
- The exact replacement cartridge, matched by brand and model
Moen’s 1225 cartridge fits a huge share of their single-handle showers built since the late 1980s, while Delta uses model numbers like RP19804 depending on the faucet series. Kohler and American Standard each have their own proprietary shapes, and a Moen cartridge will not fit a Delta valve no matter how close it looks. Snap a photo of the old cartridge and the faucet handle before heading to the store, or better yet, bring the old part in a sandwich bag.
Why the Puller Tool Actually Matters
Skipping the cartridge puller and trying to yank the part out with pliers is how people crack the valve body, turning a 20 dollar repair into a 400 dollar one. The puller threads onto the cartridge stem and applies even upward pressure instead of side-to-side torque that can snap the plastic housing.
Shutting Off Water and Removing the Old Cartridge
This is where most of the actual labor happens, and rushing this step is where leaks and flooding start.
- Shut off the water at the main house valve, not just the shower shutoff, since many older homes don’t have individual shower valves
- Remove the handle by unscrewing the set screw, usually hidden under a small cap
- Pull off the escutcheon plate and any sleeve covering the valve
- Use pliers to remove the retaining clip or ring holding the cartridge in place
- Thread the cartridge puller onto the stem and pull straight out
A homeowner named Marcus in Denver skipped the main shutoff once, trusting a shower-specific valve that turned out to be partially closed rather than fully off. He got a face full of water and a soaked bathroom rug before catching it. Testing the shutoff first by turning the shower handle before disassembly avoids that entirely.
Dealing With a Stuck or Corroded Cartridge
Hard water deposits sometimes weld the cartridge into the valve body. A few drops of white vinegar left to sit for 15 minutes around the cartridge base, combined with gentle back-and-forth rocking with the puller, usually breaks the mineral bond without force. Avoid hammering or excessive torque, since the valve body itself is often cast into the wall and cannot be easily replaced.
Installing the New Cartridge and Testing for Leaks
Getting the orientation right here prevents hot and cold from being reversed later.
- Coat the new cartridge’s O-rings lightly with silicone grease
- Note the alignment tabs or notches and match them to the valve body exactly as the old cartridge sat
- Push the new cartridge in firmly by hand until it seats flush
- Replace the retaining clip, making sure it clicks or seats fully
- Reattach the escutcheon plate, sleeve, and handle in reverse order
Turn the water back on slowly at the main valve before testing the shower itself. Run both hot and cold for a full minute, checking behind the escutcheon plate for any seepage. If hot and cold feel swapped, the cartridge went in rotated 180 degrees and needs to come back out for realignment, which takes only a couple of minutes once the tools are already out.
When the Leak Persists After Replacement
If dripping continues after a correctly installed new cartridge, the problem sometimes traces back to the valve seats themselves, particularly in older two-handle Delta or Price Pfister setups. Replacing seat washers alongside the cartridge, a kit that costs roughly 10 dollars, resolves the remaining cases. This is uncommon in single-handle modern systems but worth checking before assuming the part itself was defective.
Wrap Up
A leaking or stiff shower handle is one of the most fixable plumbing problems a homeowner will ever face, and it rarely requires a professional if the water gets shut off properly and the correct cartridge brand and model get matched ahead of time. The entire repair, from diagnosis to a dry test run, fits into a single afternoon for most people, even first timers. Keep the old cartridge as a reference for future replacements, since the same model will likely need swapping again in another decade.
FAQs
How much does it cost to replace a shower cartridge yourself? Most replacement cartridges run between 15 and 40 dollars depending on the brand, and renting a puller tool is often free with a deposit at major hardware stores.
Can I replace a shower cartridge without turning off the main water valve? Only if the shower has its own dedicated shutoff valve behind the wall or under an access panel, which many older homes don’t have, so shutting off the main line is the safer default.
Why does my shower still leak after installing a new cartridge? This usually means the cartridge went in misaligned, the O-rings weren’t greased, or in older two-handle setups the valve seats also need replacing.
Disclaimer
This content shared by Fall Rugs is solely for research and informational purposes. Fall Rugs is not a professional interior design or home renovation consultancy, and the information provided should not be considered professional advice for home improvement or decor. All ideas and suggestions are based on current trends and general knowledge in the home decor industry.