

TL;DR
Sharpening a lawn mower blade requires removing the spark plug boot, unbolting the blade, and grinding a fresh 30-degree bevel. Balancing the blade on a nail or cone balancer stops engine vibration and extends spindle life. Performing this maintenance twice a season prevents ragged, brown grass tips and saves fuel.
Introduction
Do your grass tips turn brown and frayed a day after you cut the lawn? Dull rotary blades tear grass blades instead of slicing them cleanly, leaving open wounds that invite disease and drought stress. Learning how to sharpen a lawn mower blade at home takes less than an hour and saves money over constant replacement. This guide covers safe removal, exact bevel grinding, precision balancing, and proper reinstallation for push and riding mowers.
Preparing Your Mower and Safely Removing the Blade
Preparing your workspace properly ensures safety and prevents engine damage before you loosen a single bolt. Always disconnect the spark plug wire first to eliminate any chance of accidental engine starting while your hands are near the deck. Tip push mowers so the carburetor and air filter face upward. Tipping a mower upside down or toward the air filter floods the intake with engine oil and ruins the paper filter element.
- Disconnect the rubber spark plug boot and tuck it away from the terminal point.
- Position a wooden block between the blade tip and the interior deck wall to lock rotation.
- Loosen the center retaining bolt using a 5/8-inch socket or breaker bar by turning counterclockwise.
- Mark the bottom side of the blade with spray paint or a marker so you reinstall it facing the right direction.
During a spring service call in Austin, Texas, a homeowner struggled with severe engine vibration after mounting his Toro Recycler blade upside down. Placing the curved sail facing groundward instead of toward the deck reduced lift and scraped the soil. Spraying a quick dab of bright paint on the grass-facing side before removal eliminates this common installation mistake.
Grinding the Correct Bevel Angle and Edge Profile
Rotary lawn mower blades need a durable edge rather than a razor-thin margin. Aim for a 30-degree bevel, which matches the thickness of a butter knife edge. A knife-sharp edge dulls within twenty minutes of striking soil, small pebbles, or oak twigs, causing chips and rollover along the cutting margin.
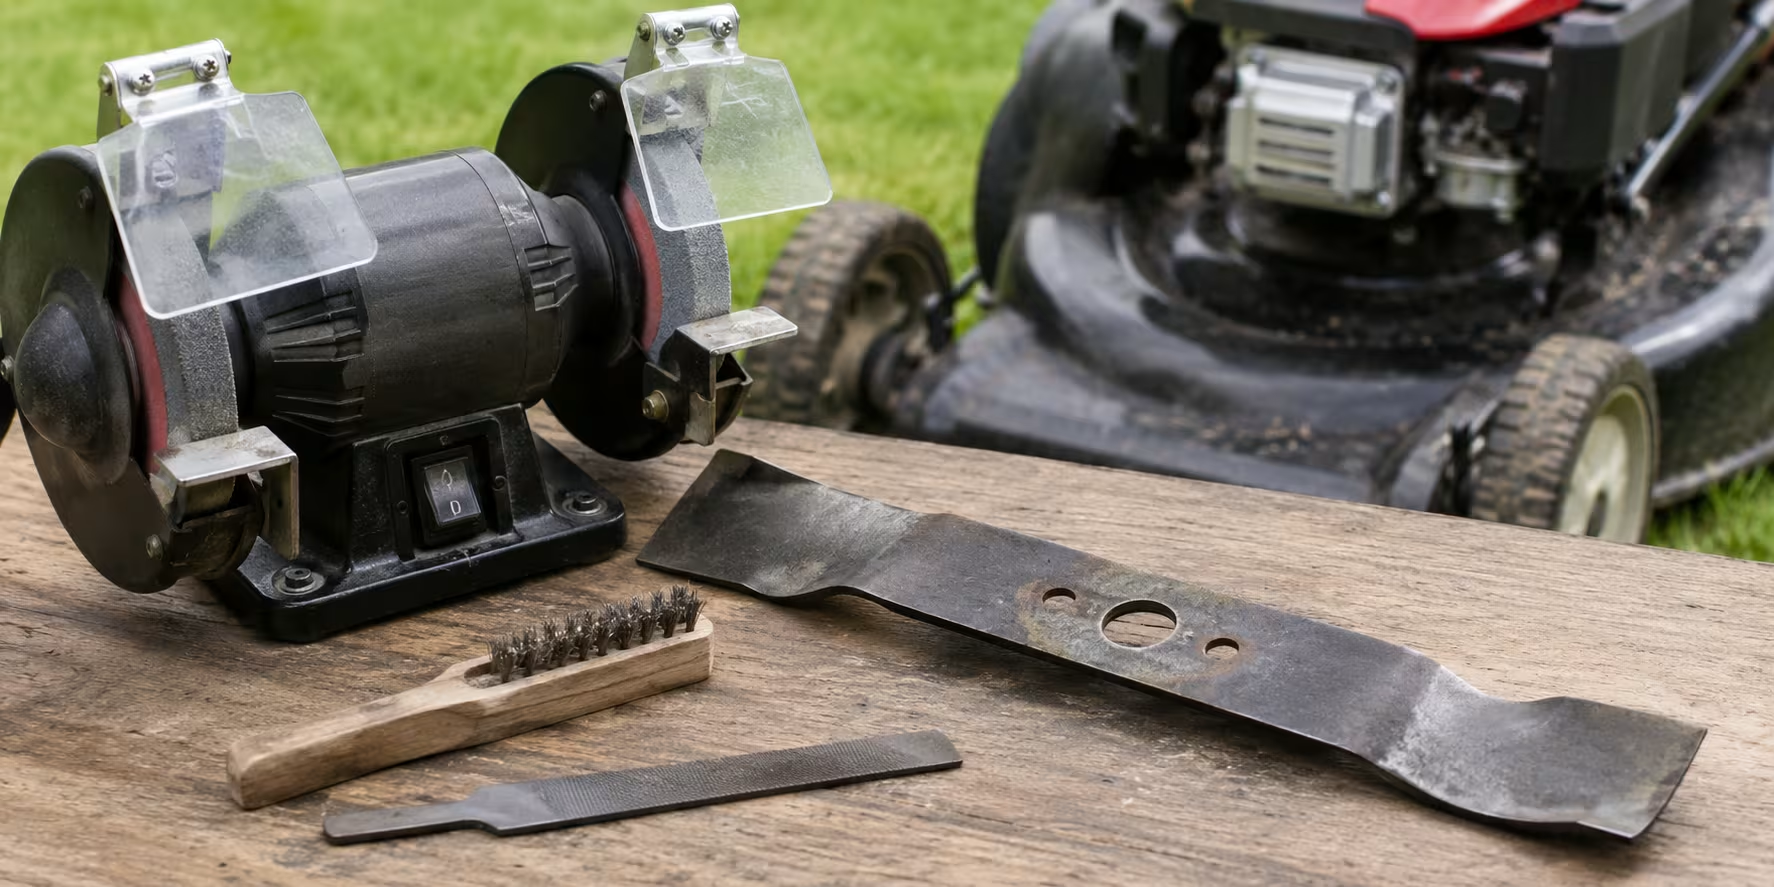
- Maintain the factory bevel angle using a angle grinder equipped with a 60-grit flap disc, a bench grinder, or a 10-inch mill bastard file.
- Work from the inner radius toward the outer tip, pushing the tool in one continuous direction along the existing bevel.
- Remove minimal metal, grinding only enough material to clean up nicks and restore the straight cutting plane.
- File away small burrs on the flat bottom side with light, level strokes without changing the bottom profile.
Workshops often see damaged mowers due to over-grinding. A landscaper operating a Honda HRX217 in Charlotte, North Carolina, ground his blades down to a razor edge using an aggressive grinding wheel. The thin steel folded over on its first contact with a sweetgum seed pod, ruining the cut quality. Keeping the edge around 1/32-inch thick preserves structural integrity while slicing fine tall fescue or coarse St. Augustine grass cleanly.
Balancing the Blade to Protect Your Engine Spindle
An unbalanced blade wobbles thousands of times per minute, creating heavy vibration that ruins engine bearings and cracks aluminum mower decks. Removing metal from one side shifts the center of gravity, making dynamic balance testing mandatory before reinstalling any cutter.
- Slip the center hole of the blade over a nail driven horizontally into a wall stud or use a wall-mounted cone balancer.
- Watch which end dips downward; the heavy side drops lower while the lighter side tilts upward.
- Grind small amounts of steel off the heavy side’s back sail, away from the cutting edge, until the blade sits perfectly horizontal.
- Wipe the metal clean with shop towels and inspect the center hole for wallowing or oval shapes.
Ignoring blade balance leads to expensive repairs. A homeowner in Oregon ran a John Deere E110 riding mower with an unbalanced 42-inch blade set for a full summer. The unaligned weight destroyed the mandrel spindle bearings by August, resulting in a repair bill far exceeding the price of a simple cone balancer. Spending five minutes balancing saves your engine crankshaft from costly damage.
Reinstalling the Blade and Post-Maintenance Testing
Mounting the sharpened blade correctly guarantees safe operation and peak lift performance under the mower deck. Clean all grass clippings and caked dirt off the underside of the deck while the blade is off to restore smooth airflow.
- Align the blade retaining washer, adapter star, and center bolt according to your manufacturer diagram.
- Ensure the curved wind sails point upward toward the top of the mower deck.
- Torque the center bolt to manufacturer specifications, typically between 35 and 50 foot-pounds, using a mechanical torque wrench.
- Reconnect the spark plug wire and start the engine on flat ground to test for smooth operation.
Commercial crews using Wright Stander mowers in Florida check blade torque every fifty operating hours. Loose center bolts shear off alignment pins on blade adapters, causing immediate slippage and deck damage. Securing bolts to proper torque specs keeps the drive system tight and running smoothly through tough cutting conditions.
Wrap Up
Sharpening a lawn mower blade keeps your grass healthy, reduces fuel consumption, and stops severe engine vibration. Following proper safety steps, maintaining a solid 30-degree bevel, and balancing the steel before installation guarantees professional results at home. Make this simple maintenance routine a regular part of your seasonal lawn care schedule to enjoy a crisp, clean lawn all summer long.
FAQs Section
How often should I sharpen my lawn mower blade?
Sharpen your blade after every 20 to 25 hours of operation, or twice per lawn care season for standard residential yards. Homes with sandy soil or frequent tree debris may require sharpening every month to maintain a clean cutting edge.
Can I sharpen a lawn mower blade without removing it from the mower?
While specialized drill attachments exist, removing the blade is necessary to properly balance it, check for cracks, and achieve an accurate 30-degree bevel. Working on an unmounted blade is also much safer and allows thorough cleaning of the mower deck.
When should I replace a lawn mower blade instead of sharpening it?
Replace your blade if the metal is bent, cracked near the center mounting hole, or worn thin along the back wind sail. If deep nicks require grinding away more than a quarter-inch of steel to clear, replace it with an original equipment manufacturer part immediately.
Disclaimer
This content shared by Fall Rugs is solely for research and informational purposes. Fall Rugs is not a professional interior design or home renovation consultancy, and the information provided should not be considered professional advice for home improvement or decor. All ideas and suggestions are based on current trends and general knowledge in the home decor industry.