
TL;DR
Custom window panels require only basic straight stitching and precise calculations. Success relies on accurate window measurements, generous hem allowances, and stable fabric choices like medium-weight cotton or linen blends.
Introduction
Do your windows look unfinished, or are you tired of searching for the exact fabric pattern in standard retail sizes? Sewing your own window treatments is one of the most satisfying projects for any home decorator. Making your own panels allows you to control the exact length, width, and fabric quality without paying custom design fees. This guide walks you through the entire process, from calculating yardage to pressing your final seams for a professional, crisp finish.
Master the Math Before Cutting Your Fabric
The biggest mistakes in curtain making happen before the needle ever touches the fabric. Standard store-bought options from retailers like West Elm or Pottery Barn often limit you to fixed lengths like 84, 96, or 108 inches. By making your own, you can customize the panel to kiss the floor perfectly or pool elegantly.
To find your cut length, measure from the top of your curtain rod to your desired finished length at the floor or windowsill. Add 8 inches for a standard 4-inch double bottom hem. Add another 2 to 6 inches for your top header, depending on whether you want a rod pocket, back tabs, or a simple ring-top hem.
To determine the width, multiply your window width by 1.5 for a tailored look, or by 2 to 2.5 for a full, luxurious drape. Always include a 1.5-inch double fold side hem allowance for both sides of each panel, which adds 6 inches of fabric width per window panel pair.
- Finished Length: The final height of the hanging panel from rod to floor.
- Finished Width: The total flat width of the panel after hemming.
- Header Allowance: The extra fabric needed at the top to create the rod casing or heading.
- Hem Allowance: The extra fabric folded at the bottom to weigh down the curtain so it hangs straight.
The Double-Fold Technique for Professional Weight
Using a double fold on your side and bottom hems prevents raw fabric edges from fraying during washing and adds necessary weight to the bottom of your drapery. Professional workrooms use lead-free drapery weights inside the bottom corner folds. If you are using lightweight linen, these small weights ensure the corners do not flare outward when hung.
Select the Right Textiles and Materials
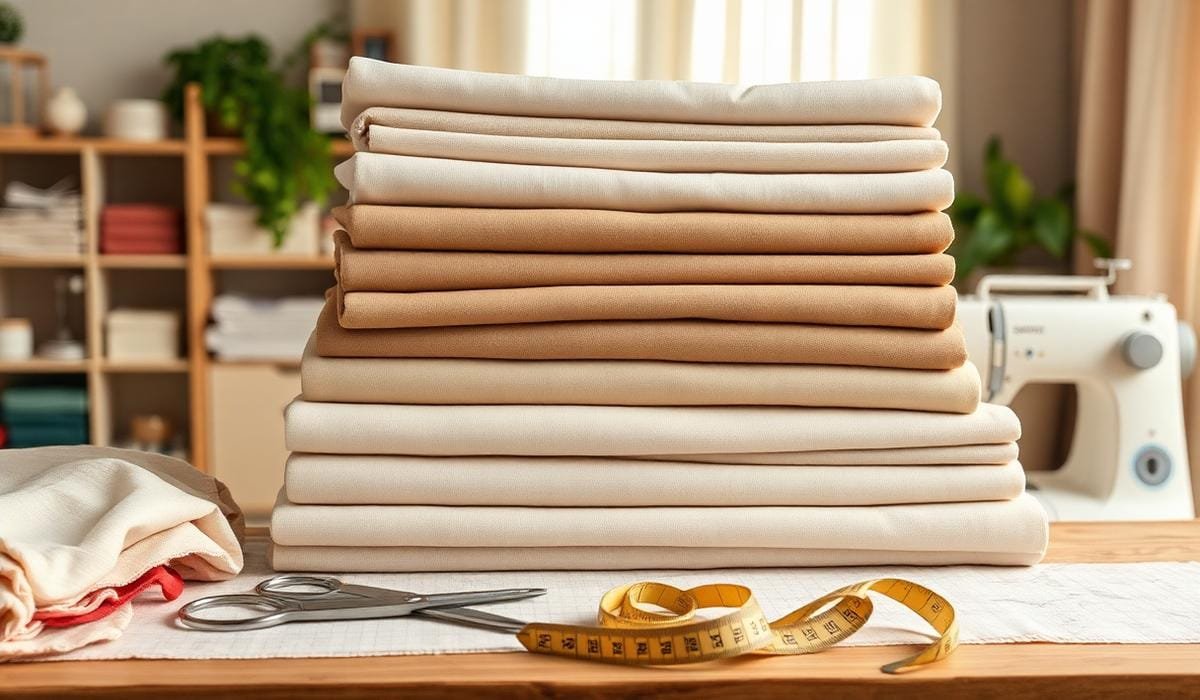
Your choice of fabric dictates how your panels will drape and filter light. Beginners often struggle with lightweight, slippery fabrics like silk or polyester sheers, which shift during cutting and stitching. Heavy velvet looks beautiful but requires a heavy-duty sewing machine and specialized walking foot to prevent the layers from shifting.
Medium-weight woven fabrics offer the best compromise for home sewists. Look for cotton duck, linen blends, or light canvas. Brands like Joann Fabrics or Tonic Living offer wide-width home decor fabrics, often measuring 54 to 60 inches wide, which reduces the need to seam multiple panels together for wider windows.
- Cotton Duck or Canvas: Durable, stable to sew, and provides structured folds.
- Linen Blends: Offers a relaxed, organic texture while remaining easy to press and stitch.
- Blackout Lining: Essential for bedrooms to block light and protect face fabric from sun damage.
- Drapery Weights: Small lead-free disks sewn into bottom corners to improve drape.
Understanding Fabric Grain and Pattern Repeats
If you choose a patterned fabric, you must account for the pattern repeat when buying yardage. A 24-inch vertical pattern repeat means you must buy extra fabric to ensure the designs align perfectly across both panels. Lay your fabric out on a large flat surface, such as a dining table or clean floor, and use a rotary cutter and a long quilting ruler to ensure your cuts align perfectly with the fabric grain.
Prepare and Cut Your Panels with Precision
Before making your first cut, wash and dry your fabric if you plan to wash the finished curtains in the future. Natural fibers like cotton and linen can shrink up to 10% on the first wash, which can ruin hours of careful work. Iron the entire length of the fabric after washing to remove every wrinkle, as creases can throw off your measurements by half an inch or more.
A real-world example of a common mistake occurred during a dining room project in 2024. A home decorator cut two panels of striped cotton without pre-washing. After the first seasonal cleaning, the panels shrunk unevenly, leaving one side of the window two inches shorter than the other. Pre-washing and pressing prevents this frustrating issue entirely.
- Pre-wash and Dry: Shrinks natural fibers before you commit to final measurements.
- Press Flat: Use a steam iron to remove wrinkles that distort measurements.
- Squaring the Fabric: Cut along a pulled thread to ensure your starting line is perfectly perpendicular to the selvage.
- Remove Selvages: Always trim the tightly woven factory edges to prevent puckering along the side hems.
Stitch Your Side and Bottom Hems
Sewing curtains is mostly about pressing and pinning rather than actual stitching. Your iron is your most valuable tool for this stage. Start with the side hems by folding the raw edge over by 3/4 of an inch toward the wrong side of the fabric, pressing it flat, and then folding it another 3/4 of an inch to hide the raw edge.
Stitch the side hems close to the inside folded edge. Keep your stitch length around 2.5mm to 3.0mm. A longer stitch length prevents puckering on long, straight seams. Once the sides are finished, repeat the double-fold process for the bottom hem by folding up 4 inches, pressing, and folding up another 4 inches.
The Secret to Invisible Bottom Hems
For a truly high-end finish, use a blind hem stitch on your sewing machine or sew the bottom hem by hand using a blind stitch. If you choose to machine stitch, use a thread color that matches your fabric perfectly. A standard straight stitch is acceptable, but a blind hem makes the thread nearly invisible from the front of the curtain, mimicking expensive custom drapery.
Construct Your Heading Style
The top of your curtain panel determines how it interacts with the curtain rod. A rod pocket is the simplest heading style to construct. To make a standard 3-inch rod pocket, fold the top edge down by 1/2 inch, press, and then fold it down by another 3 and 1/2 inches. Stitch along the lower folded edge to create the channel for the rod.
If you prefer a more modern aesthetic, you can sew drapery tape to the back of a flat top hem. This allows you to insert metal drapery hooks, which then clip onto rings from brands like IKEA or Pottery Barn. This style slides smoothly across the rod and gives you clean, structured pleats without complex sewing.
- Rod Pocket: Simple channel stitched at the top, best for stationary panels.
- Back Tabs: Fabric loops sewn to the backside of the header for a hidden tab appearance.
- Drapery Tape: Header tape sewn to the top back, allowing for hooks and rings.
- Grommets: Metal rings punched into the header, requiring specialized tools and hole cutters.
Avoiding the Sagging Header Problem
If your curtain rod is thin or your fabric is heavy, a tall rod pocket can sag in the middle between brackets. To avoid this, insert a strip of lightweight sew-in interfacing inside the header fold before sewing. This provides stiffness to the top of the curtain, keeping the header upright and crisp.
Wrap Up
Sewing custom curtains is an approachable project that yields professional results with patience and precise measuring. By selecting quality medium-weight fabrics, pre-shrinking your textiles, and utilizing double-fold hems, you can create beautiful panels that fit your windows perfectly. Take your time during the pressing stage, as crisp folds are the true hallmark of high-quality, custom drapery.
FAQs Section
What is the best fabric for beginner curtain projects?
Medium-weight cotton duck, linen blends, or cotton-polyester blends are ideal because they do not slip or stretch while cutting and sewing, and they press easily with a standard iron.
Do I really need to line my DIY curtains?
While unlined curtains are easier to sew, adding a lining protects your face fabric from sun fading, improves the drape and weight of the panel, and provides better light blocking and thermal insulation.
How do I stop my curtain side seams from puckering?
Ensure you trim away the tight factory selvages before sewing, use a slightly longer stitch length of 3.0mm, and avoid pulling or stretching the fabric as you feed it through your sewing machine.